Currently, changes in the digital world are making the use of digital signatures a norm in the business world. With communication adopting an electronic platform, these virtual signatures have proven to be efficient and reliable means of signing and authenticating contracts.
Since Microsoft Word is undoubtedly the best word processing software, persons who work with Word only plan to learn how to add a digital signature to Word. Therefore, if you are also searching for this solution, this guide is meant for you.
What is Digital Signature, and Why is It Important?
In layman’s terms, a digital signature could be described as an electronic impression made on any electronic document and is well used to verify the contents of the online document. The digital signature proves information authenticity with reference to the person who signed it and also checks the integrity of the information in the message. It guarantees overall authenticity by employing a numeric formula, which checks the openness of any digital work.
It makes the identity of the signer one of the most important advantages of digital methods of hardware signing. It is developed using public key cryptography, which removes any possibility of manipulation of the signature. However, electronic signatures are easy to sign and authenticate, and they practically eliminate the time and cost involved in printing, signing, scanning, and mailing documents. In other words, a digital signature is a good solution to protect the document from forgery and additional changes.
Best Way to Add Digital Signature to Documents
Microsoft Word is the world’s most popular word-processing software. It helps prepare text documents for a professional appearance and ease of use. Apart from document creation, another important feature of Word is providing a digital signature to a document. One can create a new drawing and inscribe a signature or place a picture of the signature into MS Word directly.
Let’s discuss how to use both these methods by following the below steps:
Method 1. Draw and Add a Signature to Word
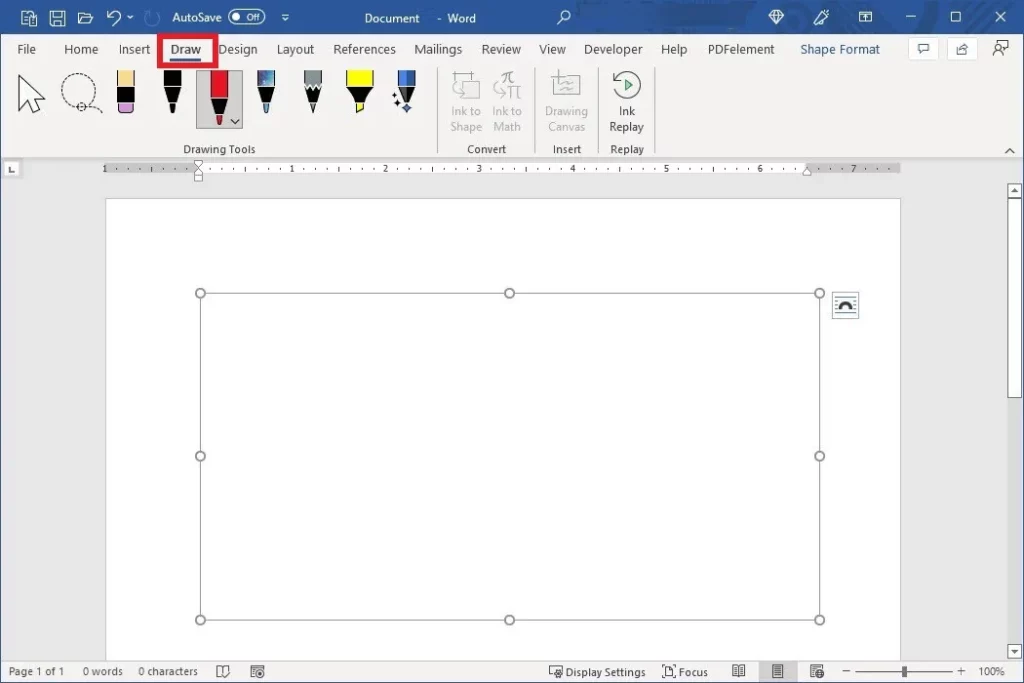
- It is necessary to open a Word document into which you wish to insert a signature.
- Go to the top of the screen, click the “Draw” tab, and select the pen of your choice.
- Turning to the “Drawing Canvas,” you must determine where to place the size.
- Draw your signature.
- After the signature is inserted, change and adjust its size and position accordingly.
Method 2. Place a photo of the Signature in Word

- Click on the Word document you want to insert a signature on.
- Go to the toolbar above and click Insert and the Pictures and This Device option.
- Choose the picture of the signature you wish to add and click OK.
- After the signature has been drawn on the document resize and move the field around in the document appropriately.
That way, you can click on Insert and draw your sign or insert a picture you would have created in advance.
How to Draw Signature Lines in Word
If you also want to add a signature line in Word, you can do it using the below three methods:
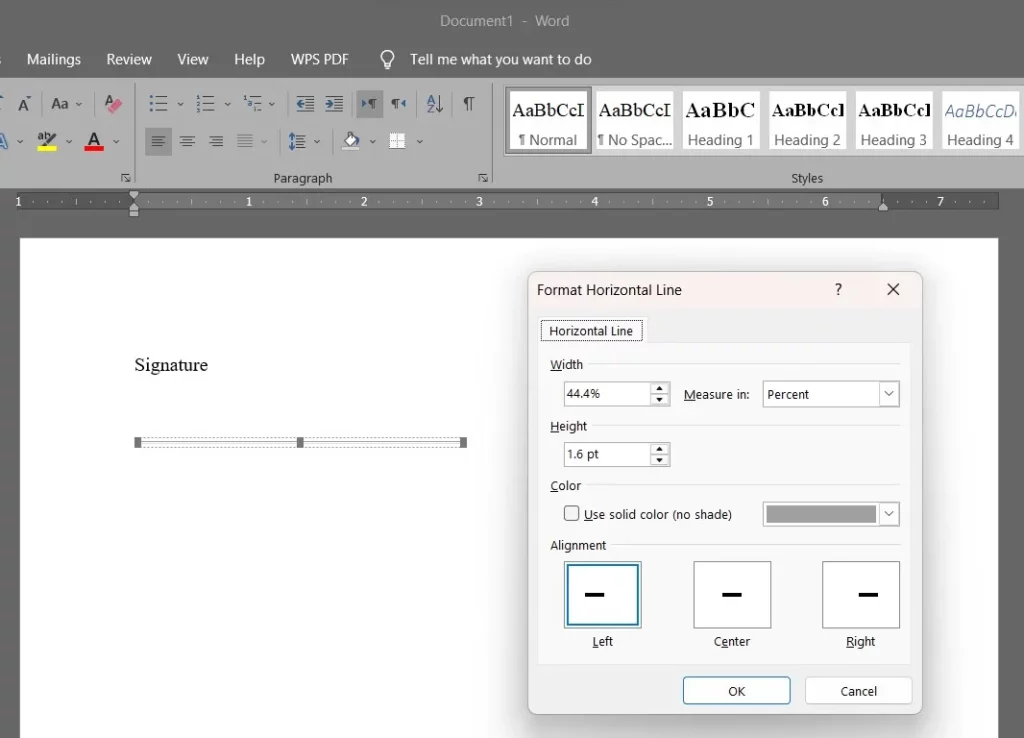
1. Add a Horizontal Line
- On “Home”.SelectedItem:Tab: pick the arrow next to the “Borders” function, then choose “Horizontal Line”.

- Once it is added, the line is drawn. Double-click on it to configure the settings exactly as desired.
2. Add a Line Shape
- By the top of the heading bar, click on the “Insert”. Next, click on “Shapes” in the ribbon bar, then select the first line that hits beside these words.
- You drag the cursor to the desired position to make the line. If you want the line straight, hold the “Shift” key while moving the cursor in the same direction.
3. Insert an MS Office Signature Line
- Navigate to the top of the page and click on “Insert.” The signature line will be in the drop-down list under the “Text” group.

- Enter appropriate details and then click ‘OK.’
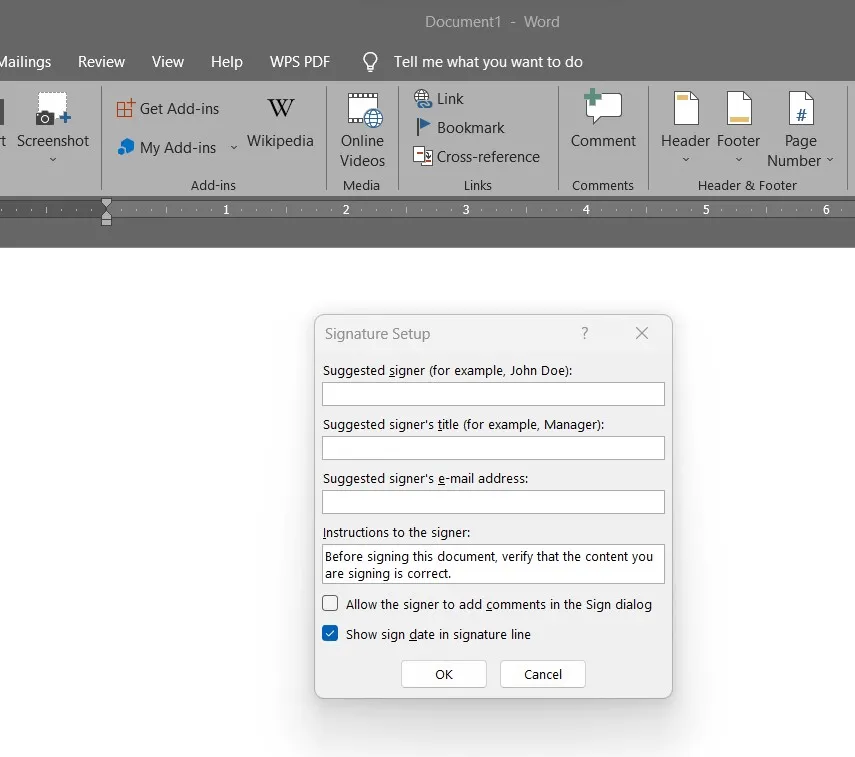
Navigator bartender of this sort makes it easy to add a signature line in Word.

