A footer is considered outside the article body, but it does seem to have an option to add relevant information to the page, such as the date, page number, file name, etc.
Although either can be done, inserting that information in the footer section is more effective since it can always be placed there and automatically included when creating any new page. Discover how to insert a footer in Excel by reading the easy methods below.
If you want to insert a simple Footer in Excel, which should be printed at the bottom of the sheet you are adding only, then this segment is for you. It is the quickest and easiest method of adding footers in your Excel spreadsheets, and here are the steps you can follow:
- From the spreadsheets at the bottom, open the spreadsheet where you wish to add the footer. Now let us return to the top, click the insert tab, and find the text group. Here is the Header & Footer button with which you must work to add the footer.
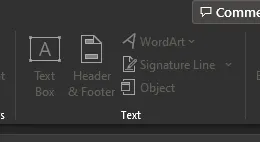
- Now choose any footer style from the left, right, and middle and any content you wish to add to this footer area. Click anywhere else on the worksheet, and your footer will be inserted.
Using the previous method can be tiresome to users who need to add a footer to each sheet. This is because the same steps will be followed for quite some time, and mistakes may happen. Also, depending on the number of sheets, that process can take a long time. So, we have a better solution for you that will add a footer in all sheets in one go with the following steps:
- Click on your Excel workbook. If you wish to insert the footer on multiple sheets, highlight all the sheets by pressing CTRL+Click. Now go immediately to the top and click the Insert tab. Go to the text group and search for the headers and footer section buttons. As you can see, you can add the footer by choosing the desired number and clicking on it.

- Lastly, go to the footer area of the material and click on it. It will appear in this format; you must change it by typing the footer text. Then select any cell in the spreadsheet you want, and that footer you set will appear in all the sheets you have selected before.
That means Excel comes in two modes: offline and online, and there are many differences between the two. For instance, adding a footer in the online version of Excel is limited. The solution is adding footers in Google Sheets, as you can do that online for free using the following steps.
Moreover, depending on the number of sheets, that process can take a long time. So, we have a better solution for you that will add a footer in all sheets in one go with the following steps:
- Back up your Online Excel spreadsheet on your computer by downloading a copy. To move on Google Sheets, type in the browser address bar and enter the URL to open a new Google sheet, click on the “+” sign to open the new sheet, and press “Ctrl+O” to upload.t for users who want to add a footer to every sheet. It is because you must repeat the same steps several times, and there are chances of error.
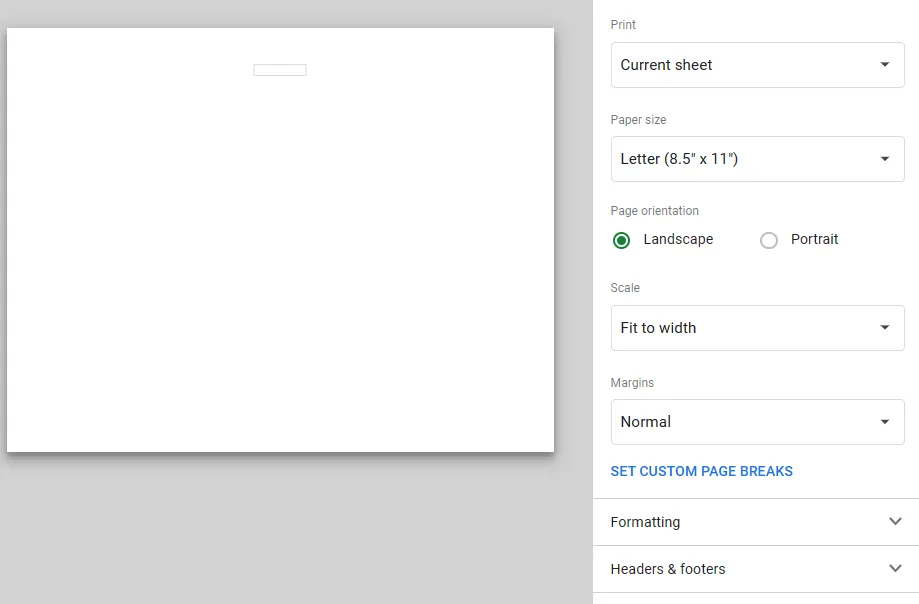
- Open your Excel workbook and select all the sheets you want to add a footer by holding on “CTRL+Click“. Now click the Insert tab from the top menu. Navigate to the text group and look for the header & Footer buttons. Clicking on it will allow you to add the footer of your choice.
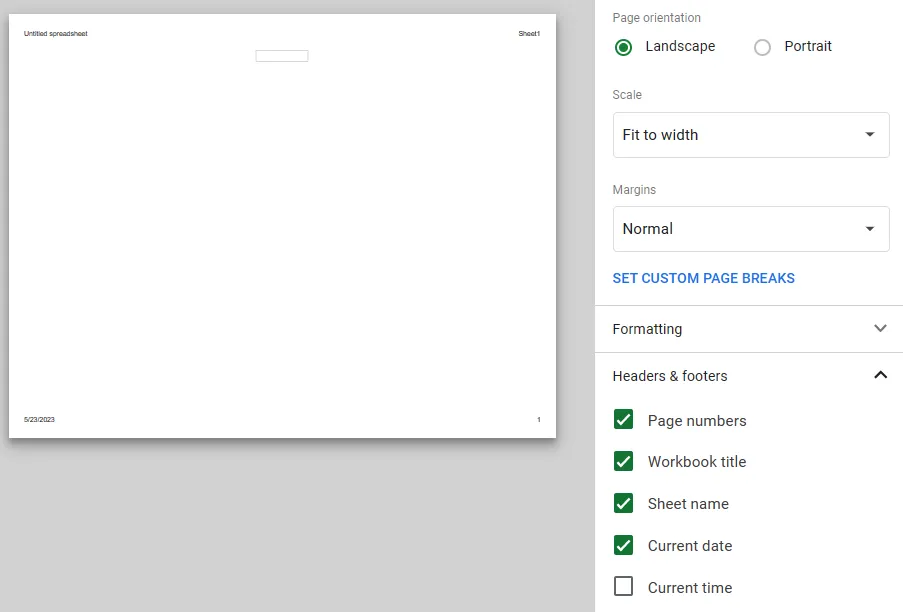
Now scroll down to the bottom and click on the footer area. You need to edit it by typing the footer text. Then click any cell in the spreadsheet, and that footer will update to all the sheets that you selected previously.
A nice feature of Excel is that you can set up your own footers. They are page number, file path, sheet name, picture, picture or value in a custom footer. Here is the step-by-step process of how to insert a custom footer in Excel.
If you want the footer to be a page number in your Excel spreadsheet, you can follow the following steps to add the page number automatically on every page when printed:
- Go to the insert tab, where the spreadsheet user can find the header and footer options in the text group. Now click to add the footer and then choose its position.
- Check the design tab and try to find the page number in the Footer Elements. Click it, and “&[Page]” will appear in the footer.

Click anywhere else in the spreadsheet, and the real page number will appear. You can now print the particular sheet.
It is useful in some ways to include the file path in the footer part of the file. Adding it is very simple, with only a few steps:
- To edit the Footer, go to the sheet, choose the insert tab, and add the footer by going to the Header and Footer in the text group section.
- Double-click the footer under the footer tab and click document info. From there, you can choose many options. In this case, we will select the file path.
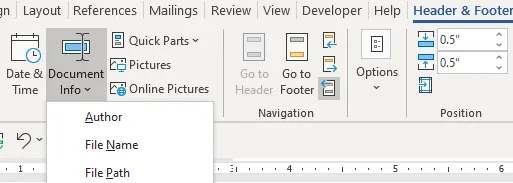
You have appended the footer with the path of the document file in your Excel sheet. You may export that file to Excel or PDF or just print it physically, and you will always find the file path when using the footer section.
The primary step will be, as usual, like the previous method, to place the sheet’s name in the footer section in Excel. Nevertheless, when you complete adding the footer and saving the Excel file, a file saved will include the sheet name in the footer area. Hence, tracking the sheet count or data will become easier, and here is how you can do it:
- Find the sheet or tab where you want to insert the footer, click on the insert tab, and then click on the headers and footers. You may have to choose the side for the footer from any number of sides present in the sheet.
- Click on the footer option to select it, go through the design option in the tab at the top, and select the sheet name. As soon as you move your focus elsewhere, it will append “&[Tab]” in the footer area, which will change to a sheet name.

You can have your own picture in the footer area, which might be needed in Excel. However, it can also be beneficial for your overall presentation decision if you have some useful visuals regarding the data you wish to present. Do not add the images from the insert option; instead, use the footer option. This will help when you are exporting your Excel document.
- Ensure the sheet is open to add an image as a footer and click on the insert tab. In the following, you must click the Footer button and then select the footer location. However, the best place to put the footers in reference to the image being referred to is in the middle.
- Now, you should click the text in the footer and navigate to the design tab in the Footer tab at the top. There, you can take pictures, view images on the computer, or choose Web images. Choose any picture and insert it in Excel as the footer.

At other times you may need to sum up the value of a particular cell into the footer section. That can be useful in various cases, such as announcing the overall value of the entire spreadsheet. So, follow the steps below to add a cell value to the Excel footer:
- Select the insert tab along the top, and then the header & footer actualize to encode the aforementioned footer. In this step, you also have to choose the position of your footer.
- Then click the footer text and type “&[A1].” A1, in this example, is a cell number that we desire to print at the bottom of the page. You can select any cell depending on what you want. If you click any other link, the value of ‘Footer‘ will replace the box’s contents.

